React Native BlogでCRNAが発表されていて
モック開発用?Production投入できるの?
と気になったので試してみました。
CRNAとは
Create React Native App の略称で、Facebook(React Community) からリリースされた
React Nativeの開発を支援するためのツールで
XcodeやAndroid Studioを使用すること無く(!)
React Nativeで書いたコードを実機で動かすことが可能です。
there’s no need to use Xcode or Android Studio, and you can develop for your iOS device using Linux or Windows. This is accomplished using the Expo app, which loads and runs CRNA projects written in pure JavaScript without compiling any native code.
どんな仕組で動くの?
最終的にはExpoというJavaScriptで書かれたコードをiOS/Androidで動かすことができるアプリ上で動作します。
なので
React Native > Expoで動くJavaScriptに変換 > Expoで動作
といった流れで動くようになります。
試した環境
- MacBook Pro
- macOS Sierra 10.12.3
事前準備
- node 6.0 以上が必要になります
- 動作確認にはExpoが必要になります
- Macと動作確認に使用する端末が同じネットワークに繋がっている必要があります
アプリ作成
公式のチュートリアル通りに進めていきます。
CRNAをインストールして create-react-native-app コマンドでプロジェクトを作成します。
$ npm i -g create-react-native-app
$ create-react-native-app my-project
Success! Created my-project at /dir-path/my-project
Inside that directory, you can run several commands:

  npm start
    Starts the development server so you can open your app in the Expo
    app on your phone.

  npm run ios
    (Mac only, requires Xcode)
    Starts the development server and loads your app in an iOS simulator.

  npm run android
    (Requires Android build tools)
    Starts the development server and loads your app on a connected Android
    device or emulator.

  npm test
    Starts the test runner.

  npm run eject
    Removes this tool and copies build dependencies, configuration files
    and scripts into the app directory. If you do this, you can’t go back!

We suggest that you begin by typing:

  cd my-project
  npm start

Happy hacking!
と表示されれば作成成功です!
$ cd my-project
$ npm start
とするとターミナル上にQRコードが表示されるので
Expoアプリを起動してQRコードを読み取ります。

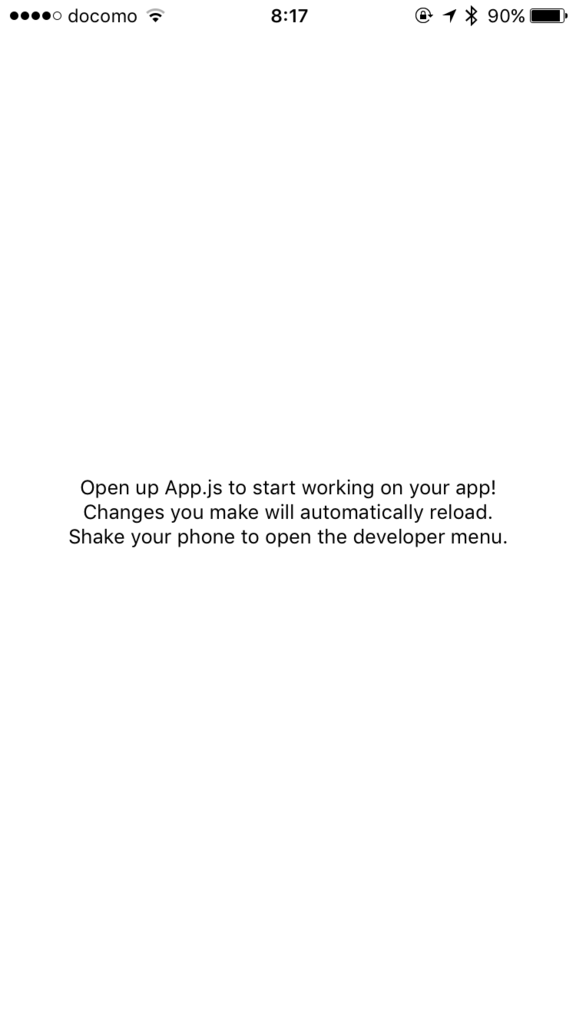
アプリが表示されました!
変更するにはApp.jsを修正します。
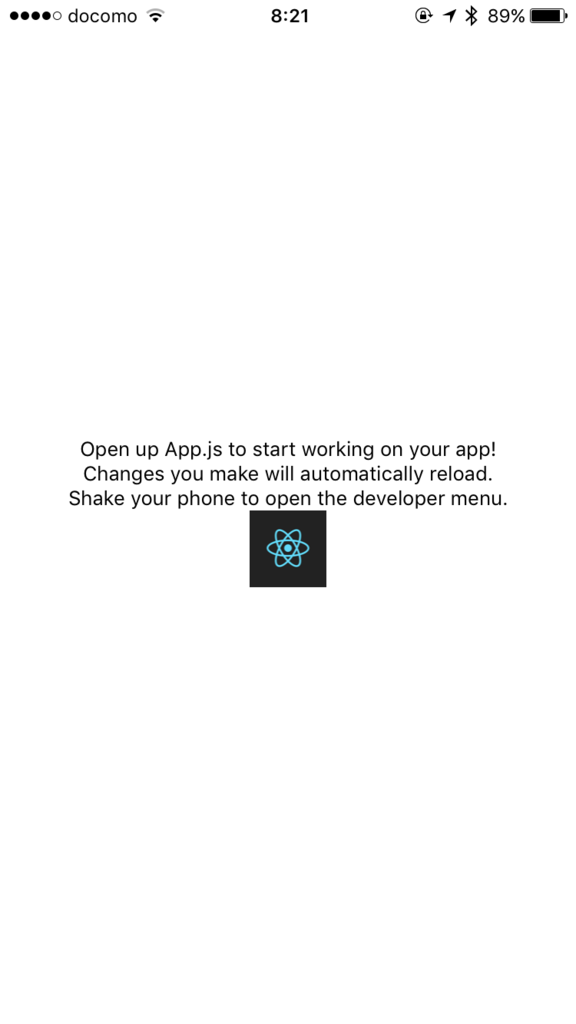
画像を追加してみます。
import React from 'react';
import { StyleSheet, Text, View, Image } from 'react-native';

export default class App extends React.Component {
  render() {
    return (
      <View style={styles.container}>
        <Text>Open up App.js to start working on your app!</Text>
        <Text>Changes you make will automatically reload.</Text>
        <Text>Shake your phone to open the developer menu.</Text>
        <Image
        style={{width: 50, height: 50}}
        source={{uri: 'https://facebook.github.io/react/img/logo_og.png'}}
        />
      </View>
    );
  }
}
エディタで保存すると、アプリ側も自動で更新されて

画像が表示されました!
このようにエディタで変更を保存すると、すぐに実機で動作確認ができるのがCRNA最大のメリットです。
Xcode/Android Studio用プロジェクトに書き出す
これだとモックの開発で終わり? と思っていたら
Xcode/Android Studio向けのプロジェクトに書き出す機能も用意されています。
$ npm eject
を実行するとindex.ios.js, ios/, index.android.js, android など
react-native init でプロジェクトを作成した時と同じReact Nativeのディレクトリ構成で出力され
Xcode/Android Studioで開くことができるプロジェクトも生成されます。
CRNAでモック作成 > ejectして本開発開始 > OS毎のライブラリ導入/調整
という流れで開発が可能になります!
所感
いままでの開発ではMacとiPhoneを繋いで、Profile整えて、、と実機確認で面倒なことが多かったので、QRコードから読み込んで確認というアプローチは煩わしさが消えて楽になりました!
今回は1ファイルのシンプルなアプリでしたが、複数ファイルや外部ライブラリを入れたりしたときにejectが問題なく動作するのかなど、実践でどの程度使用できるかを引き続き試していきたいと思います。